
|
|
New games every week!
SmileBASIC 4 - OneScreen - Banana Dodging
Blog
3rd April 2020
SmileBASIC Games : Complete Game List
Quick Start Tutorials : Getting Started, Scrolling Backgrounds A, Flames OneScreen Tutorials : Banana Dodging, Tennis Useful Forums : SoCoder, SmileBASIC Source A quick "game" tutorial type thing for a silly little game, created using PetitCom/SmileBASIC on the Nintendo Switch. If you've grabbed a copy from the Japanese eShop, you should be able to follow along, since the program itself now includes a complete English translation. I'll assume you're using the program with a USB Keyboard attached, but if not, most of the keyboard functionality can be accessed by hitting the [-] button on your controller.  From the main menu, hit the Make a Program button. -=-=- 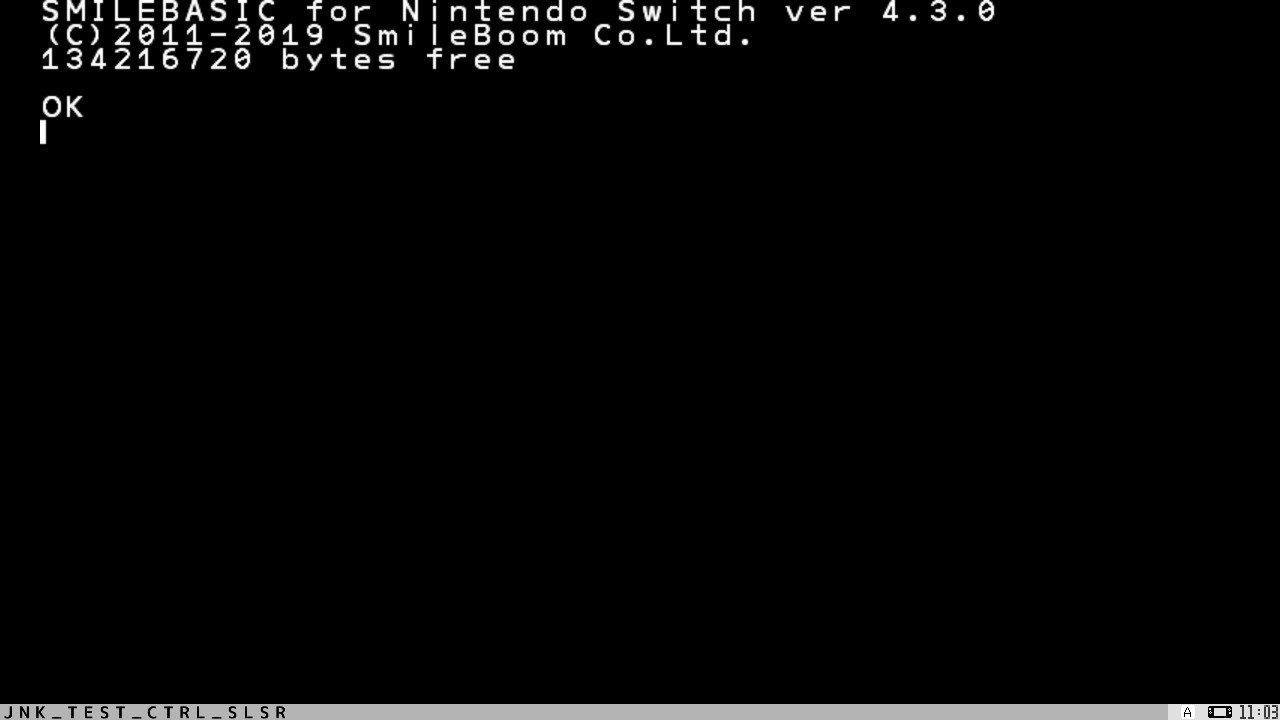 Inside you'll find a good old fashioned command line.  Here, you can type BASIC commands and see the results intantly. Typing something simple like Print "Hello World", results in the language printing Hello World to the screen. In order to do more complex games, we need to open up the editor. Hit F4 on your keyboard to toggle between the command line, and the editor. 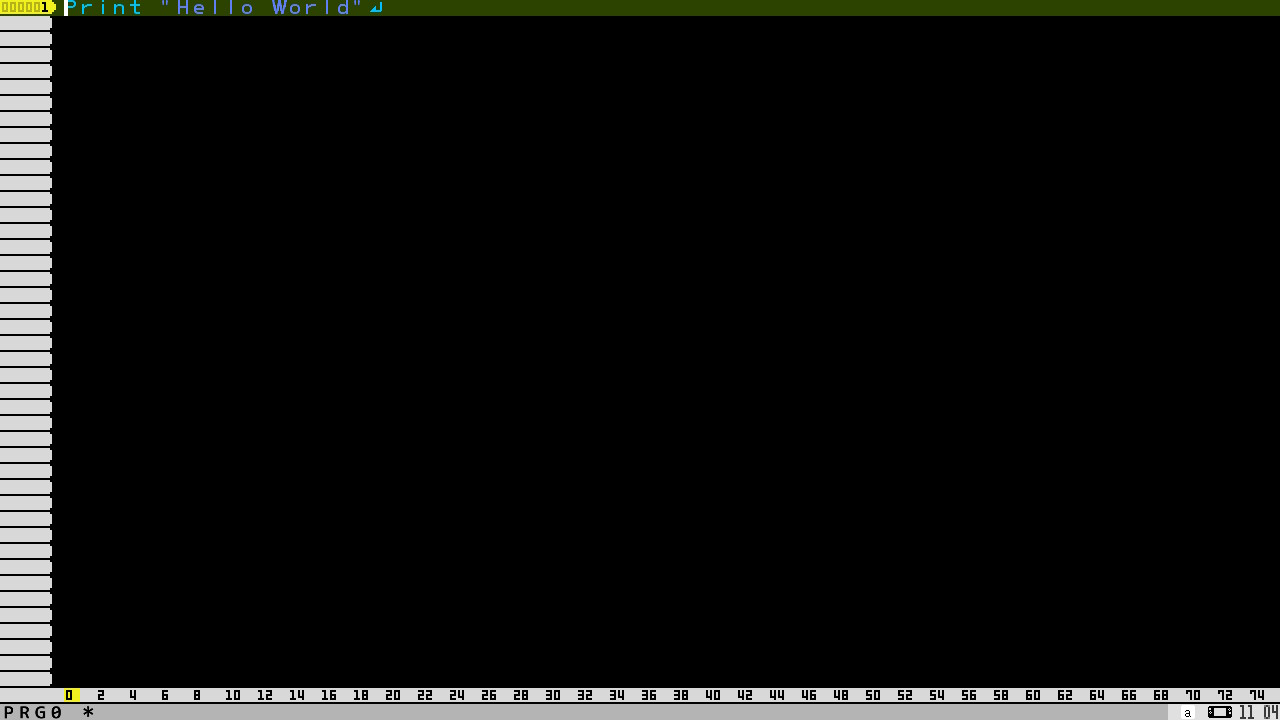 In the editor, type Print "Hello World", and give the program a run. You can run (and stop) a program using either F5 on your keyboard, or the [+] button on your controller. Note : You can hit F5/+ at pretty much every step along the way of this tutorial, to see the gradual progression of the outcome. 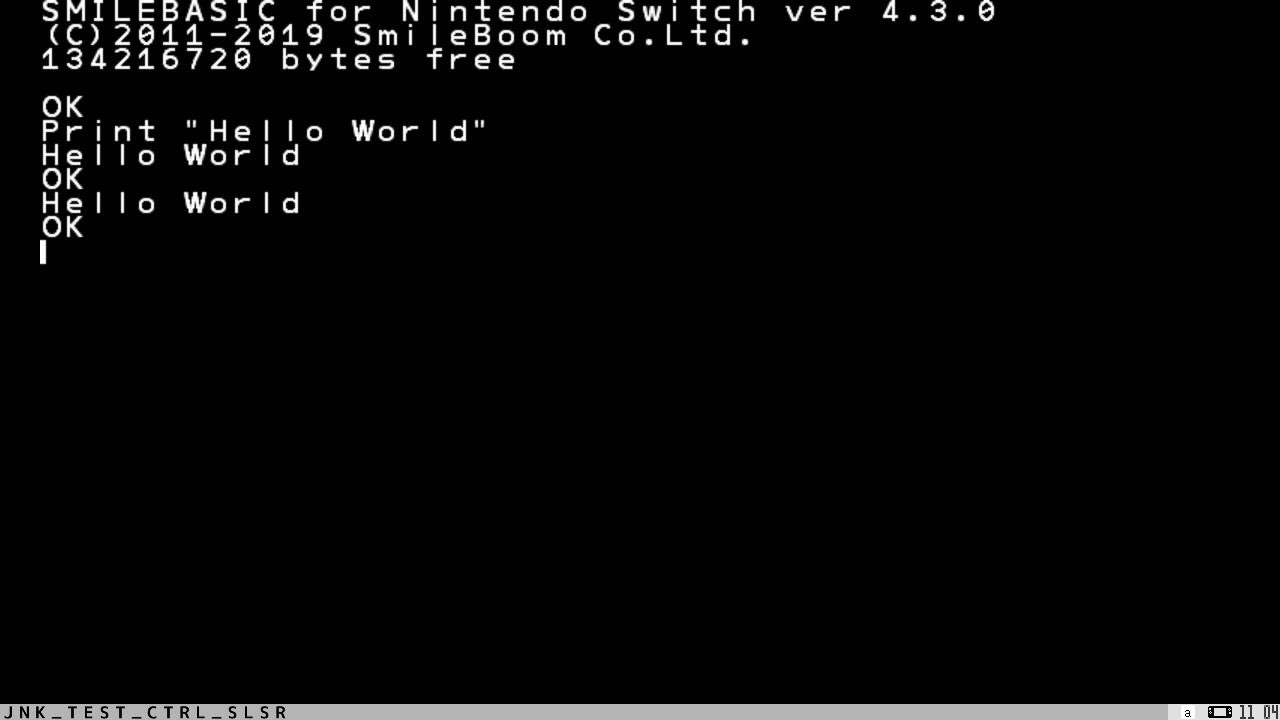 Running the code as-is, simply adds the Hello World to the bottom of the screen.  If instead we want a clean screen every time the program is run, we should use the ACLS command to "All Clear Screen"  Now if we run it, the screen is cleared and all is neat and tidy.  If we place our Print command inside an endless loop, the program will run and run and run, printing Hello World over and over, until we hit F5 or [+] to end the program.  However, it's hard to visualise this happening when it's the same text endlessly scrolling.  The Millisec() function gives us a number of milliseconds since Petit Switch was launched, so is great to use for keeping track of things. 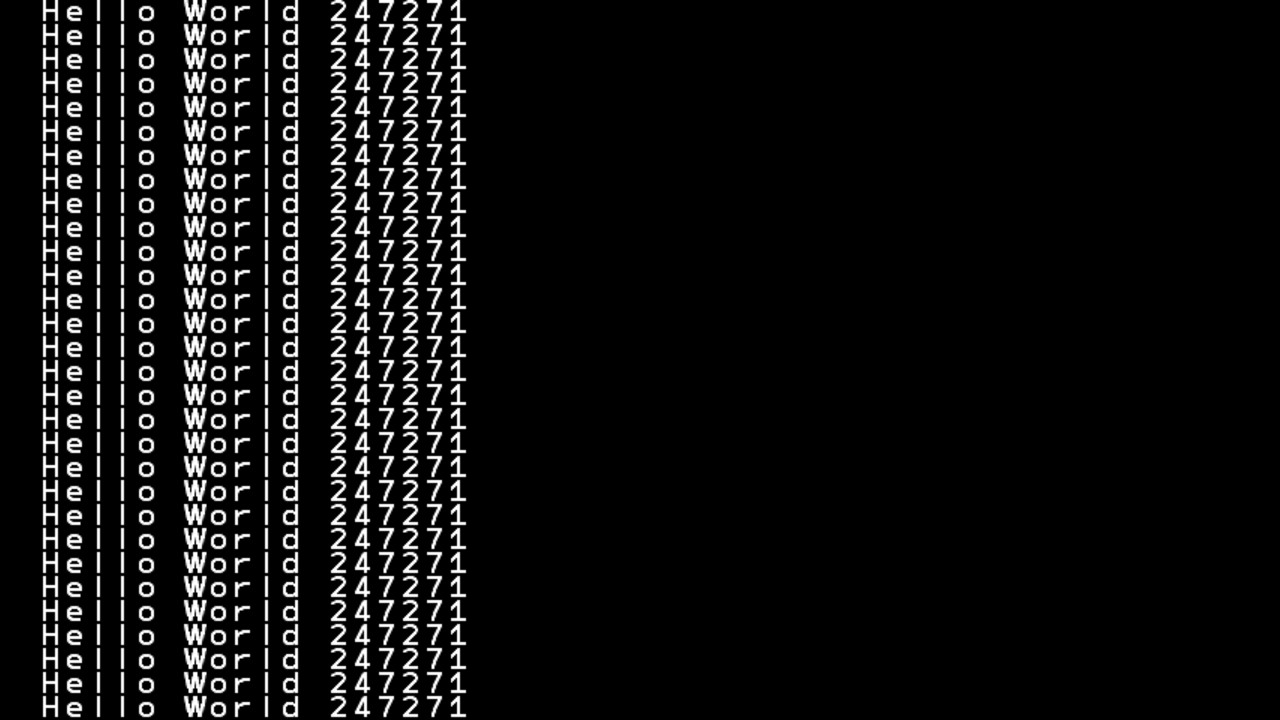 If we add a String Representation of that value to the end of our Hello World, we get a more visual representation of the scrolling text. Enough of that, though. Let's move on to sprites! 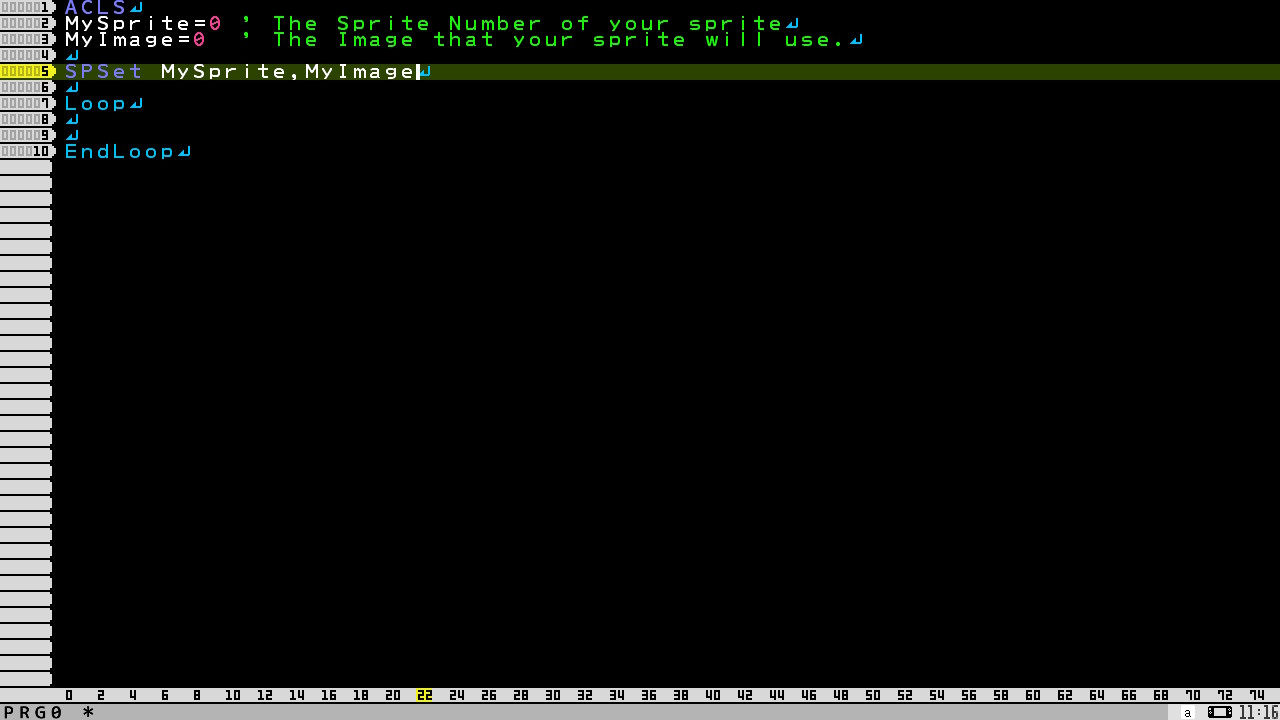 MySprite is our sprite definition number. We'll be creating a sprite onscreen, then moving it around, so it's a good idea to keep track of which number that sprite is. Sprites can be any number from 0 to about 4000, so you can easily go crazy with the amount of objects onscreen at once. For now, we'll stick to 0 for our "player". The MyImage number is, by default, one of the many 16x16 pixel images in the spritesheet. If you hit F10 you can see a spread of images. The top left (Strawberry) is 0, the next along (Orange) is 1, and so on and so forth. SPSet (Sprite Setting) is used to set MySprite (0) to be MyImage (0), or in other words, the main sprite will be a strawberry. 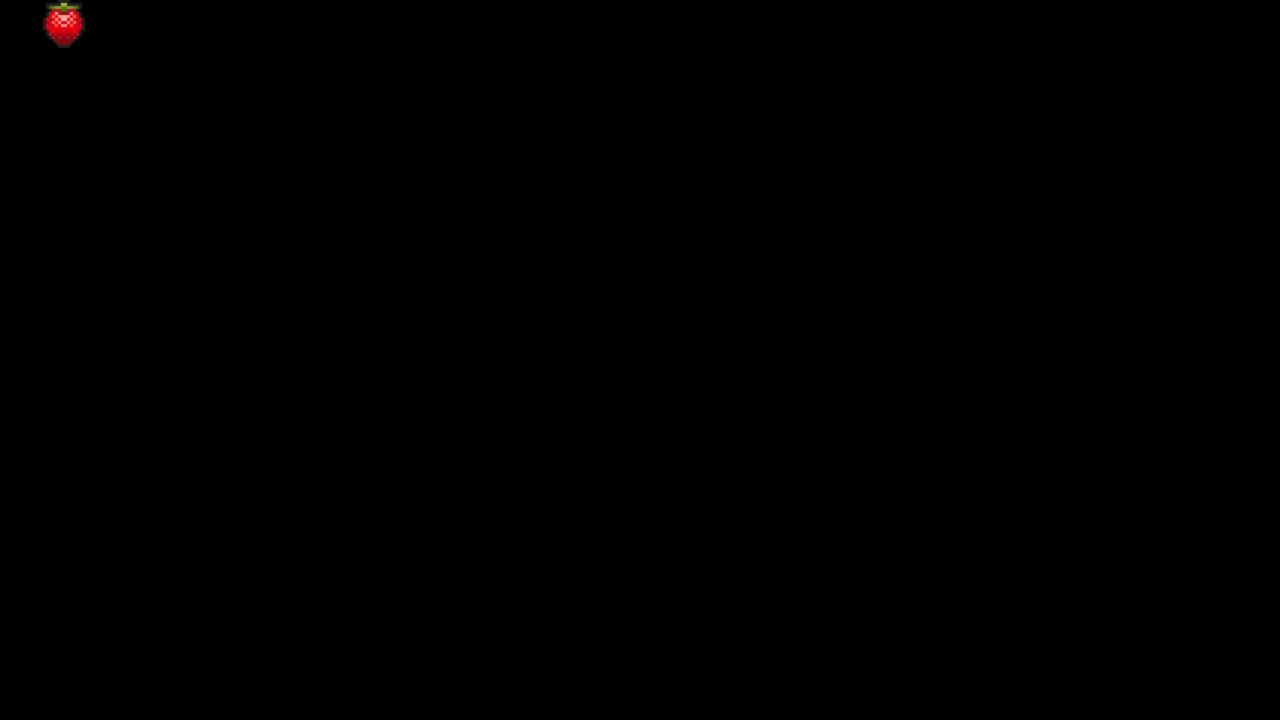 And there's our strawberry. Now let's see about moving it around.  To start with, we'll set an X and Y co-ordinate for the strawberry. X goes left to right, 0 at the left, whilst Y goes top to bottom, with 0 at the top. At the top of the code, we'll initialise the values for the strawberry to be at 100,100 on the screen. Within the loop, we feed those values into SPOfs (Sprite Offset), for our sprite.  And our strawberry moves to the offset we gave it. Next, we'll want to change the X and Y values whenever a button is pushed. SmileBASIC has a lot of functions for the controllers, with all manner of complex input abilities. Buttons, Sticks, Controller types, Labo Kit support and more. But for now we'll stick with the defaults and the simplest input method. By using Controller Port "0", the language will give us "Any" of the controller inputs that we ask for, on any of the controllers currently connected. I'll assume the player is playing with their standard joycons attatched to their Switch, in Handheld mode, but realistically any combination of controllers should work equally as well.  By requesting the values of #B_LLeft, and #B_LRight, on port 0, we're asking for whether the Left or Right DPad buttons on the "_L"eft Joycon have been pushed. If they're pushed, we get a 1, or if not, we get a 0. Using classic programmer maths, if we subtract the Left value from the Right (so that 1 = right, -1 = left) we can very very easily add the result to the X co-ordinate, and it'll instantly move left and right.  Give that a try, and you should find the strawberry now moves as you push left or right, but it all happens WAY too fast! This is because our loop has no "frame limit" on it. We can slow things down, drastically, by adding a simple Wait 1 in the loop (*We can also use VSync, here) Running the game now, you'll find it's all a little smoother, but is also a tiny bit too slow.  We'll pop in a Speed value to multiply the amount that the Button presses add to our X value. You might not like a speed of 8, so have a play until you find a speed that feels right for you. Since its a multiplier, lower is slower and higher is faster.  We can now copy+paste this line, and change values to work with the MyY variable instead. Change the X's to Y's, and replace the Left and Right with Up and Down. You'll notice that we can move the strawberry outside the screen. Let's limit that..  First we need to find out the screen's size. Up at the top of the code, we use XScreen OUT to give us the values of ScreenWidth and ScreenHeight. Inside the loop, we write a few little If commands. If X is too far left, make it 0. If it's too far right, make it ScreenWidth. The same is also done for the Y co-ordinates. 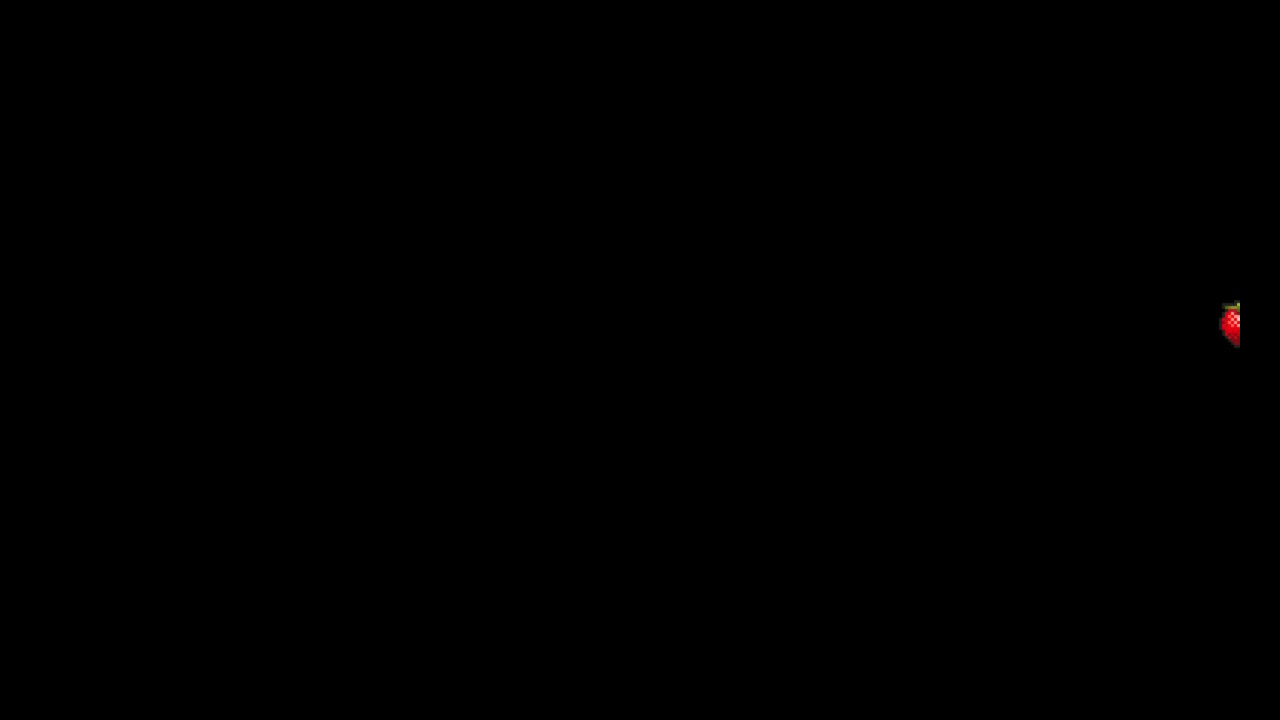 If we run it now, you'll notice the strawberry can still poke off the right and bottom edges of the screen. This is because, when draw at any position, the strawberry extends 16 pixels to the right and below beyond that point. In order to help remove this issue, we'll subtract 16 pixels from both the screen width and height. 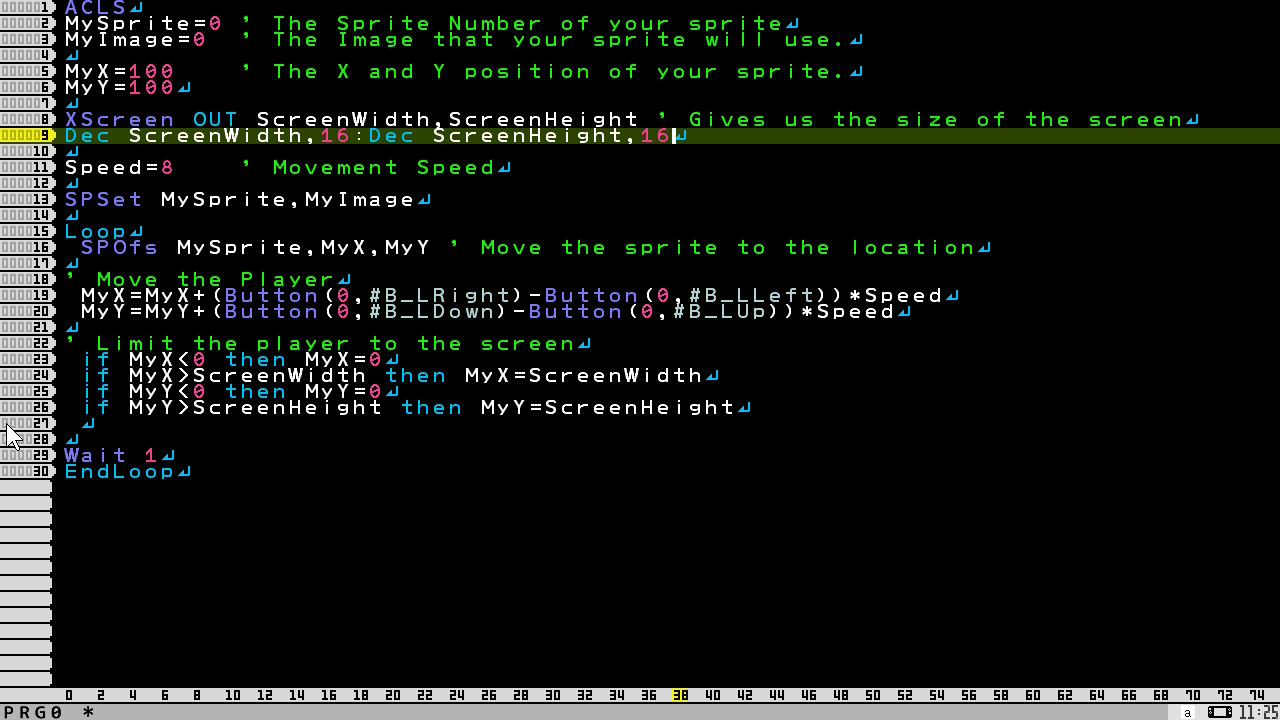 Use the Dec command on both the ScreenWidth and ScreenHeight, to decrease the values by 16.  And now, our strawberry is locked within the screen's boundary. Next, let's give our player something to do.  First we define an EvilImage which we'll give to our "enemy" sprites. I've chosen 5, which is a banana, because bananas are evil. Below that, I've made a little For-Next loop, which will cycle "Evil" through numbers 1 to 10. Each "Evil" number is made into a sprite, each sprite is Set the EvilImage value, and then Offset to a random position on the screen using the Rnd(largest number) function.  The result is a bunch of bananas..  Next we need to allow for collisions between the player and the bananas. Activate collision detection for the sprites using the SPCol (collide) command, setting the values to 1. Do this for the MySprite, as well as all of the Evil sprites.  Inside the main loop, we'll place a tiny bit of code to check for collisions. SpHitSp checks whether a Sprite Hits another Sprite, and returns the value of the sprite it's hit. We'll check if SpHitSp(0) is bigger than 0, or rather "MySprite" hits "Anything with a value larger than MySprite" (I apologise, I should've used MySprite here, but I forgot to!) If the collision occurs, STOP...  Now, if you touch a banana, the game will end where it is, and you'll get a "Break on" message where the program breaked. (Don't worry, it's not "Broke", it's just where the Stop was!) Next, it's time to make things a bit tougher for the player.  We'll insert a new For-Next loop inside the main loop, and for every Evil, we'll read their current X position, decrease it by 2, and pop it back in. We'll also check that, if the banana moves off the left hand side of the screen, that it pops back over to the right hand side, and at the same time, we'll move it to a new random Y position, too. Also, up at the top, I've added ScreenWidth to the original X offset random position, which will give the player a moment to prepare before the bananas "attack". Now when you run, you'll find a constant, endless stream of bananas, all scrolling vertically to the left. Hit one, and the game quits.  For a little more control, we can add Analogue Stick control to the strawberry. We grab the X and Y co-ordinates from Stick 0,0 (the first 0 being the default port that we've been using, and the second 0 being the left stick) And then we include the X and Y value to the sums that we do for MyX and MyY values respectively.  And there we have it. From here you could add all kinds of elements. Vibrate and Beep commands allow you to add feedback when the player hits a banana. BGMPlay will let you add some music. Give the player a score, depending on how far they travel. Maybe add a set of loops to include a few collectable objects which spawn randomly like the bananas, but give you points when you touch them, instead of killing you. Perhaps you could even create a weapon for your player? The choices are limited only by your imagination. Good luck, and Happy Coding! If you'd like to try out any of the games I've written using SmileBASIC on the Switch, the SBKey codes can be found here. Views 1674, Upvotes 23
Onescreen
,
Tutorial
,
Petit Computer
,
Smilebasic
,
Nintendo
,
Switch
,
Petit Switch
,
Petitcom4
,
Release
New games every week!
| Places
Archives
|