
|
|
New games every week!
Hmmm.. 3D...?
Blog
18th February 2018
A conversation over on SoCoder inevitably led to me ordering a 3D Printer, because..
*shrugs* It's my birthday next Friday, so if I needed an excuse... There it is! -=-=- So, I spent most of yesterday retraining myself in the art of 3D Modelling. I downloaded Blender first of all, and started by figuring out how to carve a 2D sprite into a 3D object. First step, convert the .png sprite into a .svg (Scaleable Vector Graphic) I used this site to make the conversion. 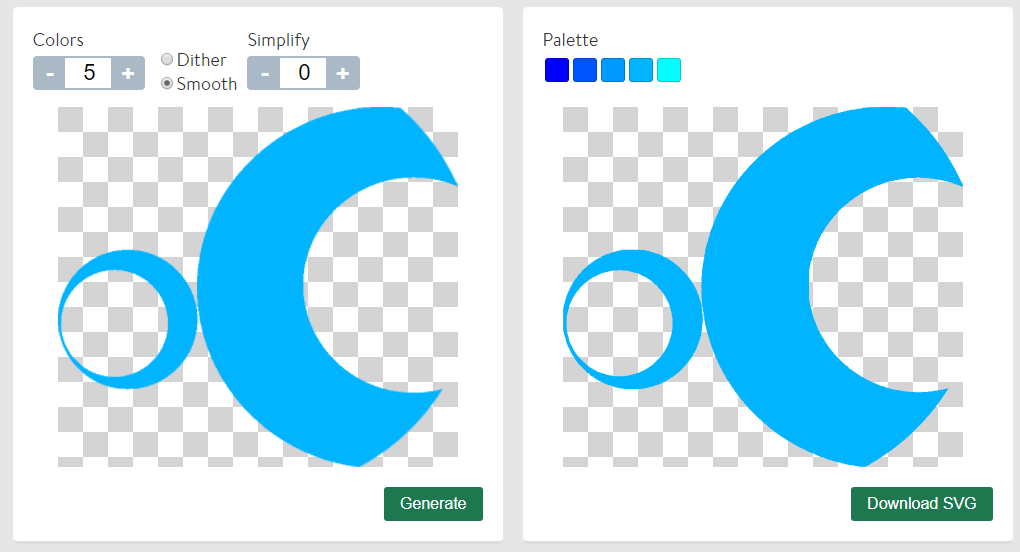 Next, in Blender, create the 3D model you want to cut out from, and import the .svg. Select the correct .svg, (the above exporter seems to output a number of empty curves), then go into the Object options on the right hand toolbar doohickey. 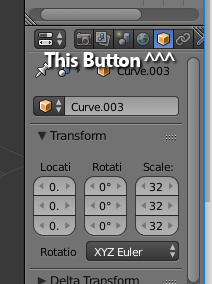 From here, you can easily numerically scale and position the object with the numbered settings in here. Bump up the scaling so you can see the "curve" nicely, and it'll fit the purpose. In addition, go to Object Menu (Towards the bottom, View/Select/Add/Object), Transform, "Geometry to Origin", and it'll do it's best to center the curve. This isn't essential, but it does help! Next, you'll want to extrude the image into a 3D object. 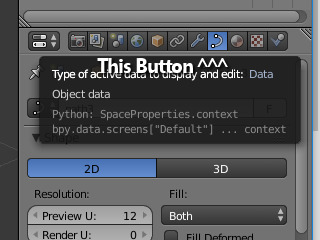 Switch to the Curve options, and in there you'll find a simple little "Extrude" option. Bump up that number a bit (0.03 was enough for me), and you'll end up with a simple 3D model of your 2D image. To "solidify" the "curve" into a Mesh, go to Object Menu, Convert To, Mesh from Curve. Now, if your curve is anything like mine, it'll be too complex to carve with, so next we need to clean it up a little. 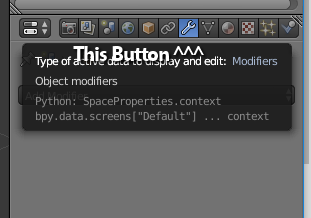 Head into Modifiers, and add a Remesh Modifier. Tweak the settings gently, until you get a nice solid looking object, without too many polygons, that looks roughly like how it should do. Don't forget to click Apply, to make the modifier permanent. Next, select the model you want to carve with your extruded shape, and add the Boolean Modifier. Select the extruded model as the "Object" and switch the Operation to Difference, then Apply. Theoretically, this *should* do the job, although it depends on how complex your object's mesh is, and whether it basically wants to actually do it or not!! It's very fussy! Suffice to say, with a whole lot of back'n'forth tweaking, I finally managed to get a decent 3D model out of it. 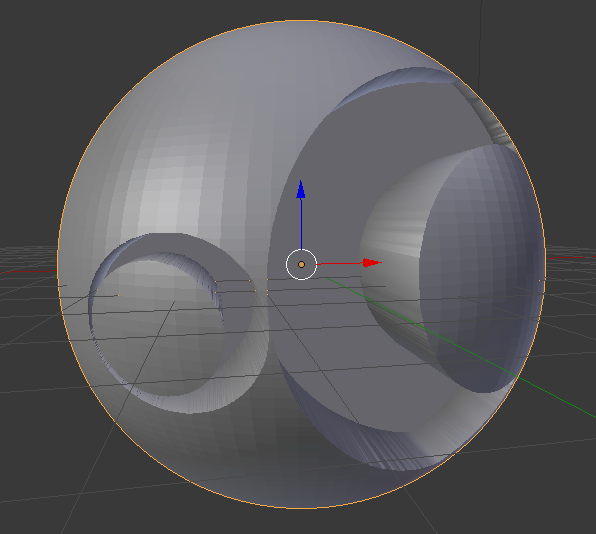 From there, you'll need to check your model is fully formed, ensure it's all "closed", then faff about with converting it to the correct format for 3D printing. Although I've attempted that, I'm not 100% sure on exactly what does or doesn't work, and that's not something I'll know until I actually get to printing things. Right now, I'm waiting on the printer to arrive, which should hopefully be at some point tomorrow, and then I'll continue to learn and sort this all out. .. No doubt, everything I've written here, will turn out to be completely unusable!! Wish me luck!! Views 49, Upvotes 8
Daily Blog
New games every week!
|


